


Building a DIY Quail Cage A Comprehensive Guide
Raising quails at home can be a rewarding and enjoyable experience. Quails are small, productive birds known for their delicious eggs and tender meat. If you’re considering starting your own quail farm, one of the first things you need to do is build a suitable cage. Here’s a detailed guide on how to create a homemade DIY quail cage.
Materials Needed
To build a quail cage, you'll need the following materials
1. Wood or PVC For the frame, you can use untreated wood or PVC pipes. 2. Wire Mesh Use 1/2 inch chicken wire or hardware cloth to keep your quails contained while allowing ventilation. 3. Plywood For the base or floor, plywood can help with easy cleaning. 4. Hinges and Latches These will be needed for doors to easily access the birds. 5. Tools Basic tools such as a saw, drill, hammer, measuring tape, and staples or nails.
Designing Your Cage
When designing your quail cage, consider the number of quails you plan to keep and their needs. Each adult quail generally requires about 1 square foot of space. A good size for a small cage is approximately 2 feet by 4 feet, which can comfortably house several birds.
Step-by-Step Instructions
1. Build the Frame Start by constructing a rectangular frame using wood or PVC. Cut the pieces to your desired dimensions and join them firmly using nails or connectors. Ensure that the frame is sturdy enough to withstand use.
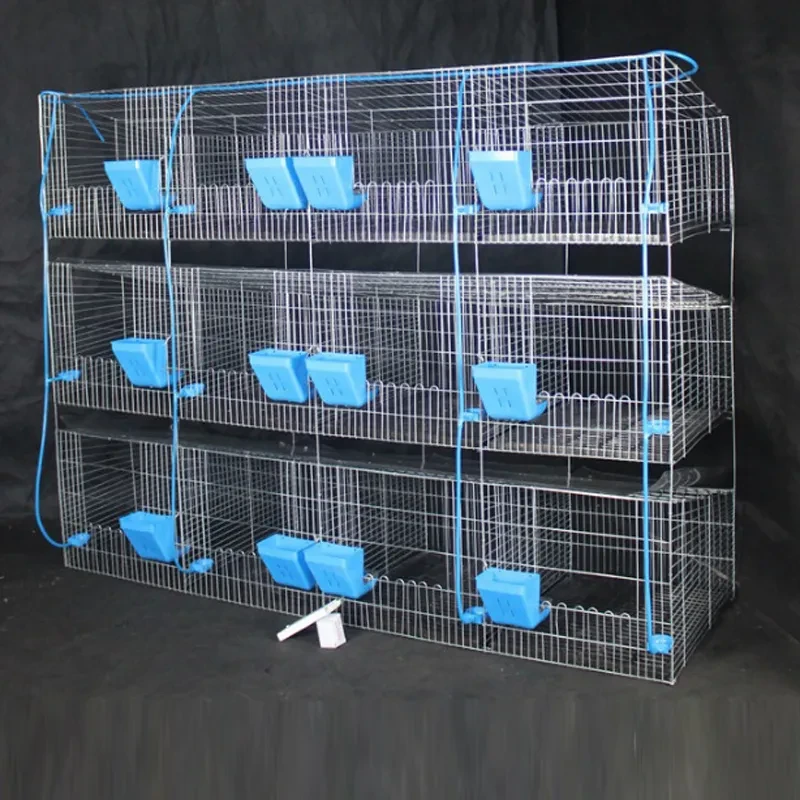
homemade diy quail cage
2. Add the Base Cut a piece of plywood to fit the size of your cage. This will serve as the floor and should be elevated slightly to facilitate cleaning and maintain a dry environment.
3. Attach the Wire Mesh Cut the wire mesh to fit the sides and top of the frame. Secure it tightly using staples or nails, ensuring there are no sharp edges that could hurt the birds. This mesh will provide ventilation while keeping the quails safe from predators.
4. Create Entry Points Cut a door in one side of the cage, large enough for you to easily access the quails. Attach it with hinges and add a latch to secure it when closed. You might also want to add a small door or flap for quick feeding.
5. Add Nesting Boxes and Accessories Inside the cage, provide nesting boxes, food containers, and water sources. Quails like to hide, so adding some cover or environmental enrichment can help them feel safe and bonded.
6. Finishing Touches Sand down any rough edges to prevent injury and paint or seal the wood if desired, using non-toxic materials. Make sure the entire structure is structurally sound and waterproof.
Maintaining Your Quail Cage
Once your cage is complete, it’s essential to maintain a clean environment. Regularly change the bedding, clean the feeding and watering equipment, and check for any signs of wear or damage to the cage.
In conclusion, building a homemade DIY quail cage can be an enjoyable project that serves as a great foundation for your quail-raising endeavors. With a little time and effort, you can create a comfortable, safe space for your feathered friends, ensuring they thrive and provide you with fresh eggs and meat. Happy quail farming!


