The Importance of Choosing the Right Nails for Cement Siding
When it comes to home construction and renovation, the choice of materials is paramount to ensure durability, aesthetic appeal, and resistance to environmental elements. One critical component that often gets overlooked in the installation of cement siding is the type of nails used. While cement siding offers numerous benefits, including enhanced durability and resistance to moisture, selecting the appropriate nails is essential for long-lasting performance.
Cement siding, also known as fiber cement siding, is a popular choice for homeowners seeking the look of natural wood without the associated maintenance problems. Despite its advantages, improper installation can lead to serious issues, including moisture infiltration, warping, and sagging. Therefore, using the right fasteners is crucial to keeping your investment sound.
Types of Nails for Cement Siding
Several types of nails can be used for cement siding, but not all are created equal. The two most common options are galvanized steel nails and stainless steel nails.
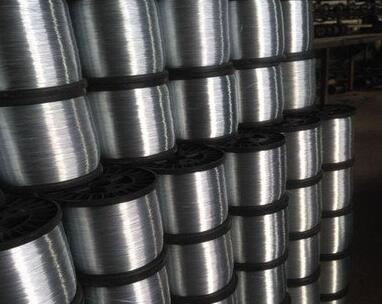
1. Galvanized Steel Nails These nails are coated with a layer of zinc to prevent rust and corrosion. Galvanized nails are a cost-effective solution and work well in many climates. However, they may not be the best option in areas with high humidity or coastal conditions where salt exposure is a concern.
2. Stainless Steel Nails For those seeking the ultimate in durability and corrosion resistance, stainless steel nails are the best option. They offer excellent longevity, making them suitable for any climate. While they might be more expensive upfront, the long-term savings and peace of mind they provide may justify the investment.
Regardless of the type chosen, nails should be of a sufficient length to penetrate through the cement siding and securely into the structural framing behind it. Typically, nails should be at least 1.75 inches long for standard cement siding installations.
cement siding nails

Installation Tips
When installing cement siding with nails, proper technique is just as important as the nails themselves. The following tips can help ensure a successful installation
- Spacing Maintain consistent spacing patterns according to the manufacturer’s guidelines. Generally, nails should be placed every 16 to 24 inches along the horizontal seams, with additional fasteners at the ends and where heavy loading is expected. - Nail Depth Avoid driving nails too deep, as this can cause the siding to crack or leave the material vulnerable to moisture penetration. The nail head should sit flush with the surface of the siding.
- Avoid Overdriving Use a nail gun with adjustable depth settings to ensure that you do not overdrive the nails, as this can damage the siding and compromise its integrity.
- Use the Right Tools Employ a suitable nail gun or hammer designed for use with cement siding nails. A pneumatic nail gun can significantly speed up the installation process while providing consistent performance.
Conclusion
Investing in quality cement siding is just the first step in enhancing your home's exterior. The choice of nails plays a pivotal role in the performance and longevity of your siding installation. By selecting the appropriate fasteners and adhering to best installation practices, homeowners can ensure that their cement siding remains an attractive and functional feature of their home for years to come. Remember, the right nails not only hold your siding in place but also protect your home from the elements, contributing to both its value and aesthetic.


