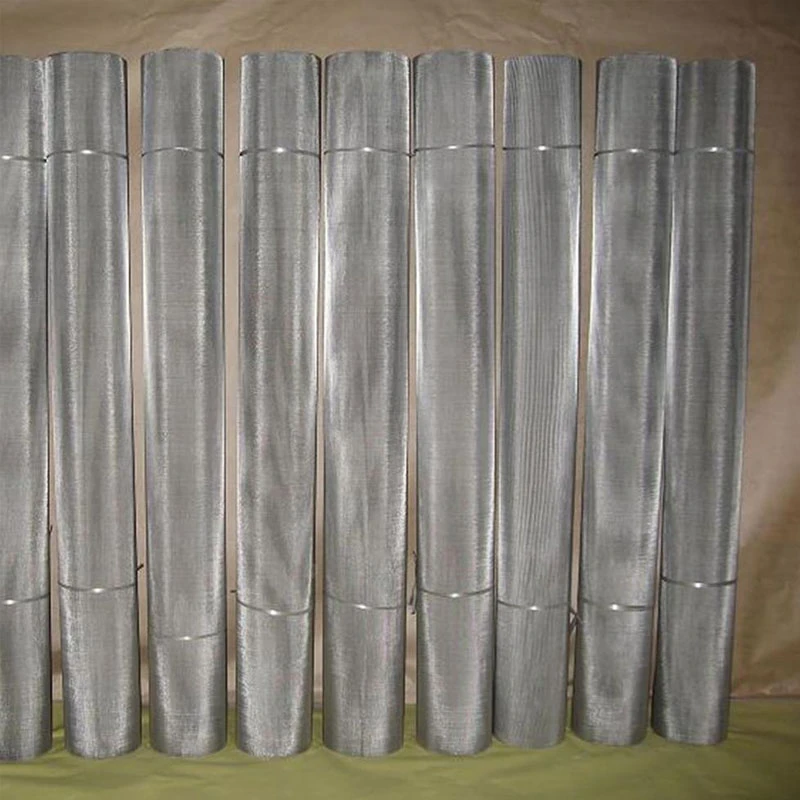
Installing Wire Trellis A Comprehensive Guide
Wire trellis systems are a popular and effective way to support climbing plants, vegetables, and even some flowers. They provide structure and stability, enabling plants to grow vertically, which maximizes space and improves air circulation, thus reducing the risk of disease. This article will guide you through the process of installing a wire trellis, ensuring that you have a solid foundation for your climbing plants to thrive.
Materials Needed
Before you begin the installation process, gather the necessary materials. The basic components include
1. Wire Choose a durable, rust-resistant wire such as galvanized steel or coated wire. A gauge between 14 to 16 is typically sufficient for most climbing plants.
2. Trellis Posts These can be made from wood, metal, or PVC. Ensure they are sturdy enough to support the weight of the plants you plan to grow.
4. Tools Basic tools like a hammer, pliers, wire cutters, a measuring tape, and a level will simplify the installation process.
5. Optional If desired, you can use hooks or eye screws to create adjustable wire tension.
Step-by-Step Installation
installing wire trellis

1. Plan the Location Choose an appropriate spot for your trellis. It should receive adequate sunlight for the types of plants you intend to grow. Assess the area for possible obstructions such as trees or buildings that might cast shade.
2. Determine Height and Width Decide on the height and width of your trellis. Most wire trellises are between 4 to 8 feet tall. Mark the positions of the trellis posts using stakes and string to visualize the layout.
3. Install the Posts Dig holes for the posts at least 12 to 18 inches deep. This depth ensures stability, especially for tall trellises. Place the posts in the holes, ensuring they are vertical using a level. Fill the holes with soil or concrete to secure them firmly in place, then allow them to set.
4. Attach the Wire Measure and cut the wire to the desired lengths based on the spacing of the posts. For optimal plant support, it’s advisable to run several horizontal wires, spaced about 6 to 12 inches apart. Start by attaching one end of the wire at the top of the first post using a staple or knot, depending on the type of post material. Stretch the wire taut and secure it to the second post. Repeat this for each subsequent row of wire.
5. Tensioning the Wire Depending on your design, you may want the ability to adjust the tension of the wire. This can be achieved by using hooks or eye screws mounted on the posts. This added adjustability allows you to keep the wire tight as plants grow and add weight.
6. Planting and Training Once your trellis is installed, it’s time to introduce your climbing plants. Plant them at the base of the trellis, and gently guide them towards the structure. You may need to tie the initial stems to the wire using soft twine or cloth strips until they start to grow on their own.
7. Maintenance Regularly check the wire tension and make adjustments as needed. As your plants grow, they may require additional support or guidance. Pruning can also be beneficial, as it encourages healthier growth and improves air circulation.
Conclusion
Installing a wire trellis is a relatively straightforward process that can significantly enhance your garden's aesthetics and productivity. By providing a solid structure for climbing plants, you'll maximize your gardening space while creating a beautiful vertical garden. Take the time to plan and execute each step carefully, and you’ll enjoy the benefits of a flourishing garden for many seasons to come. Happy gardening!


