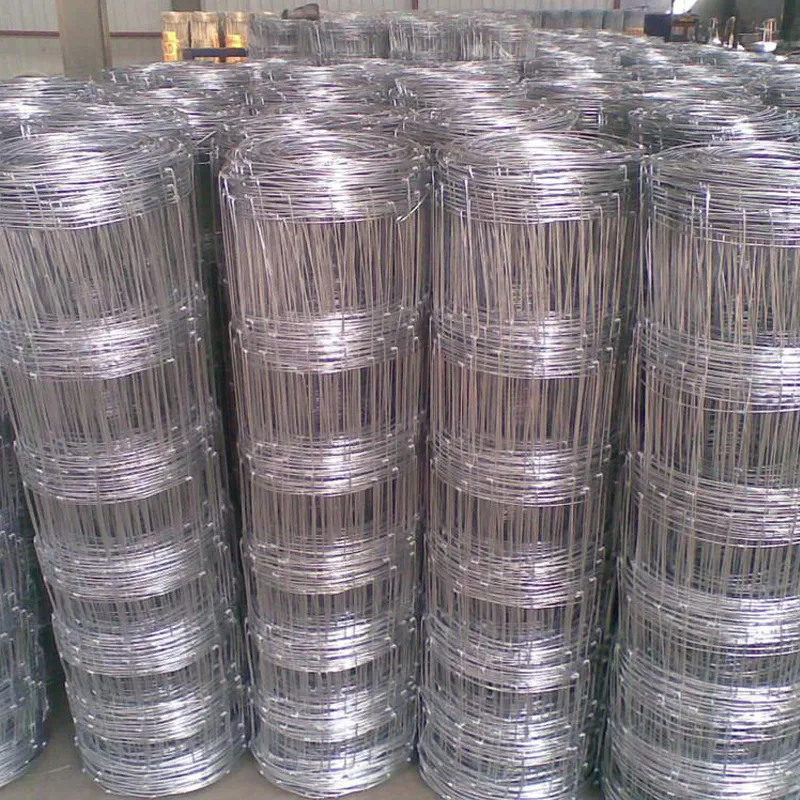
A Comprehensive Guide to Chain Link Fence Installation
Installing a chain link fence can be an excellent choice for homeowners and businesses alike. Not only is it a cost-effective fencing solution, but it’s also durable, low-maintenance, and provides an excellent boundary without obstructing the view. If you're considering installing a chain link fence, this guide will help you navigate the process step-by-step.
Materials You'll Need
Before you start the installation, make sure you have all the necessary materials and tools. Here's a list to get you started
- Chain link fabric - Fence posts (terminal and line posts) - Post caps - Concrete mix (for securing the posts) - Tension wire - Tie wires - Fence clips - Tools post hole digger, level, tape measure, wrench, and garden spade
Step 1 Planning and Marking
The first step in any fence installation is planning. Begin by determining the perimeter where your fence will be installed. It's advisable to check with local zoning regulations to ensure that you comply with any restrictions. Once you know the boundaries, use stakes and string to outline the area where the fence will be. This will give you a visual reference and help you measure accurately.
Step 2 Setting the Fence Posts
Next, you need to dig the post holes. The depth of these holes should be about one-third the height of the post above ground. Use a post hole digger to create holes at least two feet deep, ensuring they’re spaced 10 feet apart for line posts and closer for corners or gates.
Place the first terminal post into the hole and use a level to ensure it’s straight. Then, fill the hole with concrete mix, following the manufacturer's instructions. Repeat this for each post, allowing the concrete to cure as needed.
Step 3 Attaching the Chain Link Fabric
chain link fence installation

Once your posts are set and the concrete has cured, it’s time to add the chain link fabric. Start by unrolling the chain link and attaching it to the terminal posts using tie wires. Adjust the tension as you go to ensure that the fabric is taut and evenly distributed.
Next, attach the fabric to the line posts using fence clips. Space these clips about every 24 inches to secure the fabric properly. After this, you can trim any excess fabric at the end, keeping in mind to leave enough to attach to the final post.
Step 4 Adding Tension and Final Touches
To complete the installation, you need to install the tension wire at the bottom of the fence. This will help keep the chain link fabric tight and maintain the integrity of the fence. Use tie wires to attach the tension wire to both the chain link and the posts.
Install post caps on top of each post to protect them from the elements. This not only gives your fence a finished look but also helps to prolong the lifespan of the posts.
Step 5 Maintenance and Care
Once your chain link fence is installed, maintenance is relatively easy. Regularly check for any rust or damage, especially at the joints and bottom of the posts. Cleaning any debris from the fence and applying rust-inhibiting paint can help prolong its life.
Moreover, consider inspecting the integrity of your tension wire and making sure that the fabric remains taut to prevent sagging over time.
Conclusion
Installing a chain link fence is a straightforward project that can enhance your property’s security and aesthetic appeal. By following these steps and taking the time to plan carefully, you can create a durable and functional boundary that meets your needs. Whether for added privacy, security, or simply to mark off your property, a well-installed chain link fence is an investment worth making. Happy fencing!


