Building a Homemade Quail Cage A Step-by-Step Guide
Quails are small, versatile birds that can provide both meat and eggs while requiring relatively little space. If you're considering raising quails, having an appropriate cage is essential for their health and well-being. Building a homemade quail cage can be a rewarding DIY project that allows you to customize the environment based on your specific needs. Here’s a comprehensive guide on how to build a suitable cage for your quails.
Materials Needed
To begin, gather the following materials
1. Wood or Metal For the frame of the cage. Choose untreated wood, or if you prefer metal, ensure it's non-toxic and rust-resistant. 2. Wire Mesh For the sides and top of the cage. Use 1/2 inch wire mesh to protect the quails while allowing proper ventilation. 3. Nails or Screws To fasten the joints together. 4. Hinges and Latch For doors that provide easy access. 5. Roofing Material Either wood or corrugated plastic to provide shelter. 6. Bedding Material Such as straw or wood shavings for comfort. 7. Feeding and Watering Containers Choose appropriate feeders and drinkers designed for quails.
Step-by-Step Construction
1. Decide the Size Determine how many quails you want to raise to calculate the size of the cage. A good rule of thumb is to allow at least one square foot of space per quail for optimal living conditions.
2. Build the Frame Start by cutting your wood or metal to the desired dimension to form the base of the cage. Assemble the base by nailing or screwing the pieces together to create a sturdy rectangular or square frame.
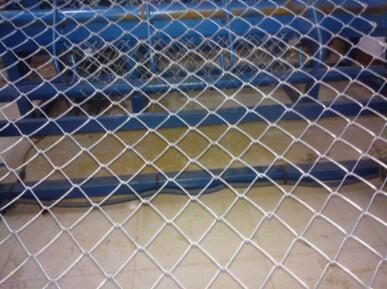
home made quail cage

3. Construct the Walls Cut wood or metal for the walls, ensuring there’s ample space for ventilation and that each wall reaches the specified height. Attach the wire mesh securely to the frame using nails or screws to keep your quails safe from predators.
4. Create the Roof Once the walls are up, attach the roofing material. Ensure that the roof slants slightly to avoid water accumulation. Cover it with wire mesh to allow light and ventilation while keeping out pests.
5. Install the Doors Cut out a section of one wall to create a door. Use hinges to attach the door, making sure it swings open easily. Add a latch or lock to secure it when closed.
6. Add Bedding and Accessories Line the bottom of the cage with your chosen bedding material. This will provide comfort for the quails and help absorb waste. Place feeding and watering containers accessible to the quails, ensuring they cannot easily tip over.
7. Ventilation and Sunlight Ensure your cage has proper ventilation by checking for any blocked areas. If possible, position the cage in an area where natural sunlight can filter in, but be cautious of extreme temperatures.
8. Regular Maintenance After constructing your cage and introducing your quails, regular maintenance is key. Clean the bedding frequently, check the water supply, and ensure the food is fresh. Monitor for signs of disease or stress among your quails.
Conclusion
Building a homemade quail cage can be an enjoyable project that not only helps you save money but also allows you to create an environment tailored to your birds. By following these steps and paying attention to the specifics of quail care—like space, ventilation, and cleanliness—you’ll provide a safe and comfortable home for your feathered friends. Enjoy your journey into quail raising, and remember, happy quails lead to healthy quail products!


